How to Run chkdsk
Chkdsk stands for check disk. It is a very old and known Hard disk drive(HDD) checking utility by Microsoft for Windows Operating Systems. Whether you run a Client OS or a Server OS, you will find CHKDSK utility in it.
The utility Chkdsk is basically used to remove bad sectors from hard disk drive. Although there are other uses also but they are just for information purpose. They just provide statistics about your hard drive.
This utility can be run via 2 ways:- Graphical and Command Line. Lets discuss how to run chkdsk in both these ways.
Graphical – To run Chkdsk in the Graphical Mode follow the following steps.
1. Open My computer and right click the hard disk drive partition on which you want to run CHKDSK and select Properties.
 2. Click on the Tools Tab and in the “Error checking” Section Click “Check Now”
 3. To run CHKDSK in the fix mode Check both the 2 options and click Start or just leave them if you don’t want to run CHKDSK in the Fix mode.
 Command Line – To run CHKDSK in the command prompt you must follow the tutorial below.
1. Open the Start Menu and Select Run
2. Type CMD and press OK
 3. Now in the Command Prompt Type
 CHKDSK [drive letter] to run chkdsk without the fix or repair mode 4. To run CHKDSK in the fix or repair mode type
 CHKDSK /r [drive letter] The difference in running chkdsk in fix mode and in normal mode is that in fix or repair mode CHKDSK attempts to recover bad sectors from the hard disk drive.
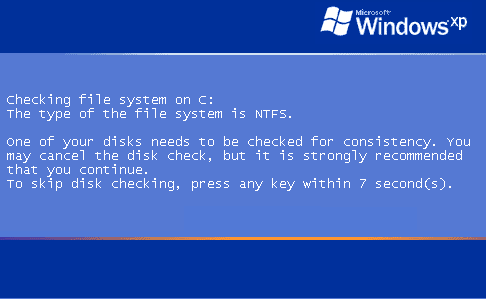
If you are trying to run CHKDSK on the system or boot drive, you wont be able to run it while your operating system is running. The disk checking utility will automatically schedule itself at the next Startup.
Comments